
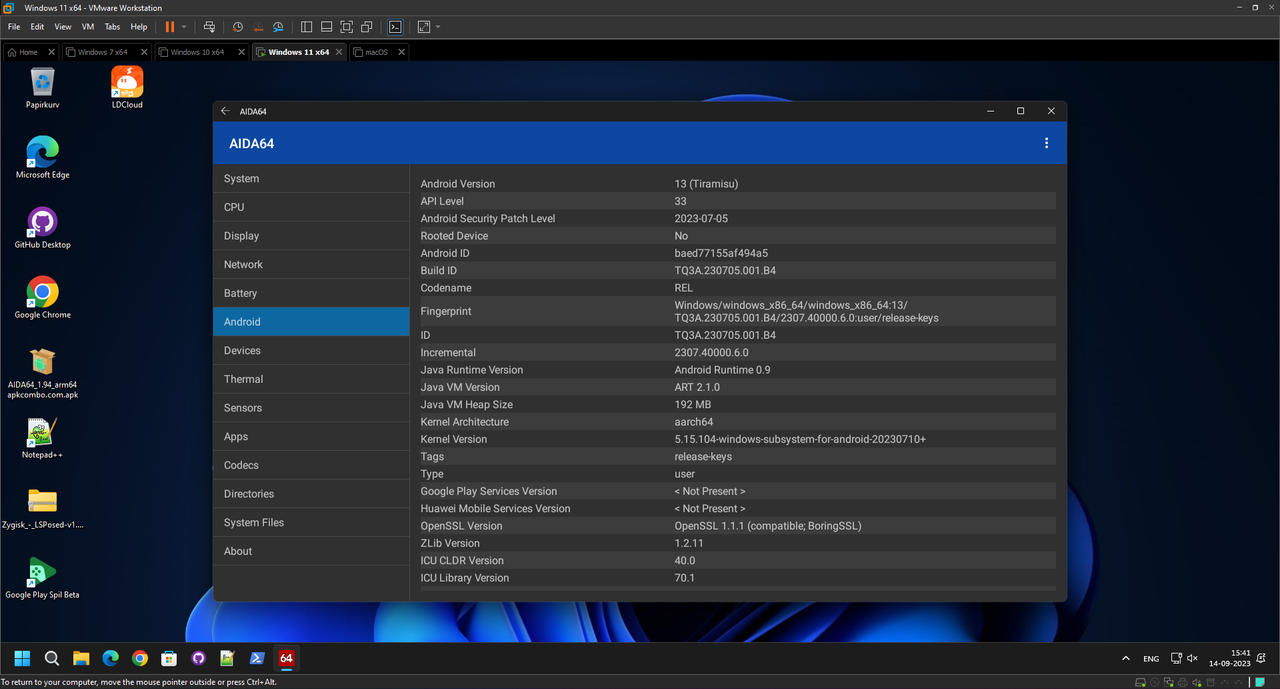
How to install rooted Windows Subsystem for Android (WSA) with Google Play Services (Windows 10 & 11)
No need to manually root and install Google Play Services on Windows Subsystem For Android™ (WSA) anymore, you can install pre-build WSA on your Windows 10 and Windows 11 PC using prebuilt binaries with Google Play Services (OpenGApps/MindTheGapps) and/or Magisk or KernelSU (root solutions) built in.
WARNING: For peoples who want to use Magisk modules on WSA: Modules are supported as long as it support x86_64. ARM64 only modules will not work on x86_64 WSA. If you really need to use ARM64 only modules, buy an ARM64 computer that is capable of running ARM64 version Windows 10/11 and you must choose ARM64 version of WSA instead x64. I have not tested it because I don’t have any ARM64 computer
Requirements
- 8GB RAM (Minimum). 16 GB RAM or higher is recommended
- SSD or better
- Supported processor: Intel Core i3 8th Generation, AMD Ryzen 3000, Qualcomm Snapdragon 8c, or better
- Any compatible Intel, AMD or Nvidia GPU. GPU Performance may vary depending on its compatibility with WSA
- Microsoft Store app version 22110.1402.6.0 or higher. You can check the Store app version by clicking the “Get updates” button in the Library tab of the app (bottom-left corner).
- NTFS partition. WSA can only be installed on a NTFS partition, not on an exFAT partition
- Virtualization (VT-x) enabled in the BIOS settings. Check with your computer manufacturer for more infomation. Guide on how to enable. If you want to use WSA in standard Virtual Machine, you must enable VT-x on the VM settings too.
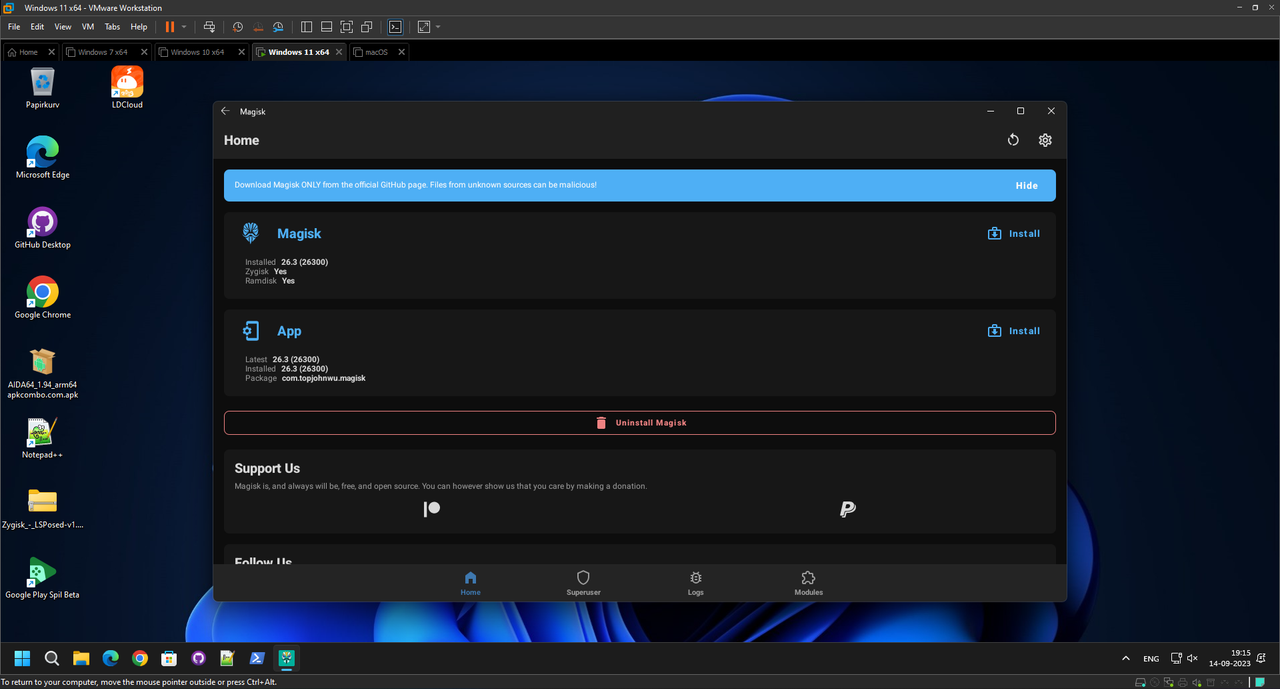
- Virtual Machine Platform enabled. Once enabled, some Android emulators, Virtualbox, and VMware will not work unless Hyper-V is supported. However, you could install WSA inside Windows 11 virtual machine, allowing you to have standard Android emulators, VM and WSA at the same time (See screenshot below of Win 11 with WSA running on WMware), but more RAM is required on host OS
Video tutorial
https://www.youtube.com/watch?v=vtZKWw5K0jU
Enabling Virtual Machine Platform
If you already enabled Virtual Machine Platform, skip these steps and proceed to Installation
Note: Some Windows 10 PCs - and all PCs that come preinstalled with Windows 11 - already have Virtual Machine Platform enabled, so you may not need to follow these steps.
Open Start menu. Search for “Turn Windows features on or off”, and click the top result to open the app.
Or
Open Settings -> Apps -> More optional features
Or
By pressing the Windows Key + R on your keyboard and typing “OptionalFeatures.exe” into the box, and press enter
Check the “Virtual Machine Platform” option.

Reboot your computer
Installation
Warning: If you have the official WSA installed, you must completely uninstall it to use modified WSA builds. In case you want to preserve your data from the previous installation (official or modded), you can backup Userdata.vhdx, located at %LOCALAPPDATA%\Packages\MicrosoftCorporationII.WindowsSubsystemForAndroid_8wekyb3d8bbwe\LocalCache\userdata.vhdx before uninstallation and restore it after installation.
This is a simplified installation steps with screenshots. I recommend also to read the full guide with details at WSABuilds Github repo to make sure you do not miss anything
Go to the releases page: https://github.com/MustardChef/WSABuilds/releases/
Find the latest release for your OS and processor, for example if your PC’s processor is x86_64 and running Windows 11, find the release called Windows Subsystem For Android vXXXXXXX: Windows 11 x64. Go to the Assets section and download the WSA version of your choosing (do not download “Source code”)

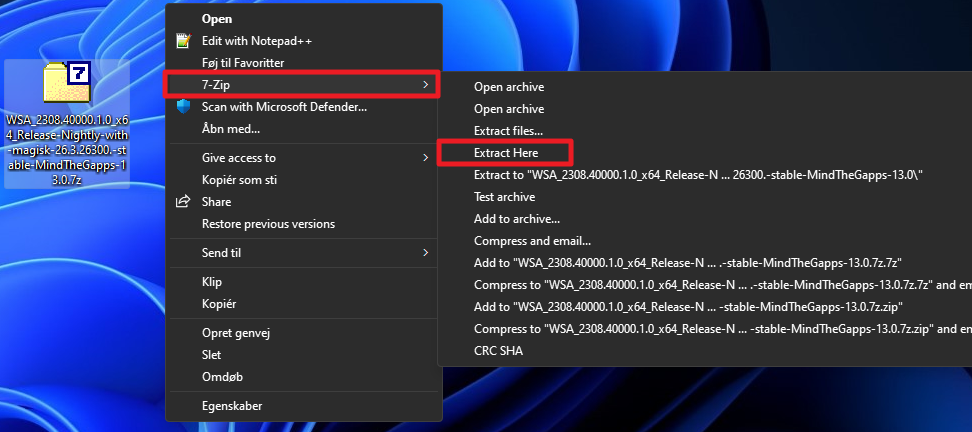
Extract the .7z archive using 7-zip (recommended)
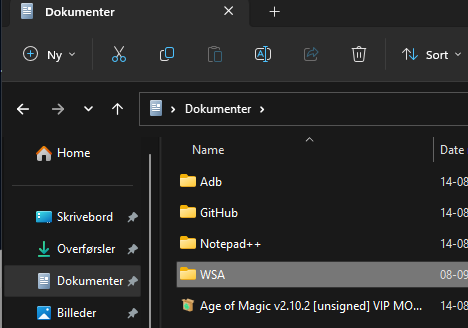
Rename the folder (that you extracted) to WSA and move the newly extracted folder to a suitable location (Documents folder is a good choice), as you will need to keep the folder on your PC to use modified WSA
Note: If you’re updating WSA, merge the folders and replace the files for all items when asked. When prompted to replace folders, select “Do this for all current items” and click on “Yes”. When prompted to replace files, click on “Replace the files in the destination”
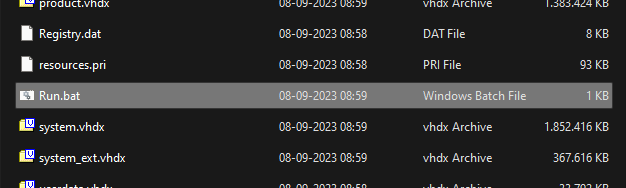
Open the WSA folder: Search for and double-click Run.bat
Give administrative permission when asked
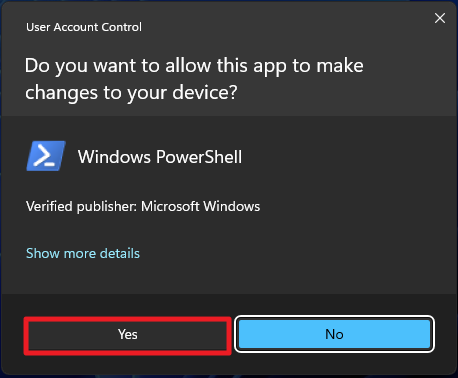
- If you previously have a modified WSA installation, it will automatically uninstall the previous one while preserving all user data and install the new one, so don’t worry about your data.
- If the popup windows disappear without asking administrative permission and WSA is not installed successfully, you should manually run Install.ps1 as administrator:
- Press Win + X and select Terminal (Administrator)
- Input the command below and press enter, replacing {X:\path\to\your\extracted\folder} including the {} with the path of the extracted folder
- cd “{X:\path\to\your\extracted\folder}”
- Input the command below and press enter
- PowerShell.exe -ExecutionPolicy Bypass -File .\Install.ps1
- The script will run and WSA will be installed
- If this workaround does not work, your PC is not supported for WSA
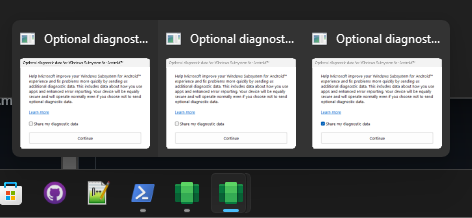
Once the installation process completes, WSA will launch (if this is a first-time install, a window asking for consent to diagnositic information will be shown instead. Sometimes two or more identical windows will show, this is fine and nothing bad happens if you click OK in both or more windows)
Click on the PowerShell window, then press any key on the keyboard, the PowerShell window should close

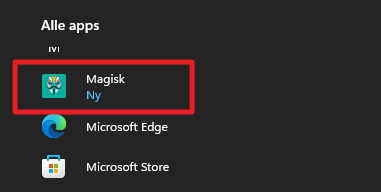
After it’s finished installing, the Magisk (If you choosed Magisk WSA build), Play Store and the Windows Subsystem for Android Settings app will appear in the Start menu and your app list.
Very important: You can NOT delete the WSA installation folder. Leave it alone!
If you are using Magisk WSA build:
Open the Magisk app from the Start menu
When prompted to Require Additional Setup, click on “OK”. WSA will reboot

After rebooting, Magisk will launch automatically. If not, open it from the Start menu again
Enjoy!
Zygisk is fully supported. You can begin to install your favorite modules right away
If your magisk modules got deleted after reboot, follow the tutorial how to temporary fix it: https://www.andnixsh.com/2023/09/how-to-fix-magisk-modules-deleting.html
WARNING: Modules are supported as long as it support x86_64. ARM64 only modules will not work on x86_64 WSA. If you really need to use ARM64 only modules, buy an ARM64 computer that is capable of running ARM64 version Windows 10/11 and you must choose ARM64 version of WSA instead x64. I have not tested it because I don’t have any ARM64 computer
Updating without losing data
Make sure Windows Subsystem For Android is not running (Click on “Turn off” in the WSA Settings and wait for the spinning loader to disappear)
Follow the Installation steps from above again. You will need to replace your “WSA” folder during installation

